Spaces allow you to organise and group your channels e.g. business unit, country, use case, etc.

How to create a space
You can create and manage your spaces by clicking on Admin and then Spaces.
To create a new space click on the Create new space button in the upper right corner.

- Give your space a title, a description, a colour for easy identification and optional a contact email.
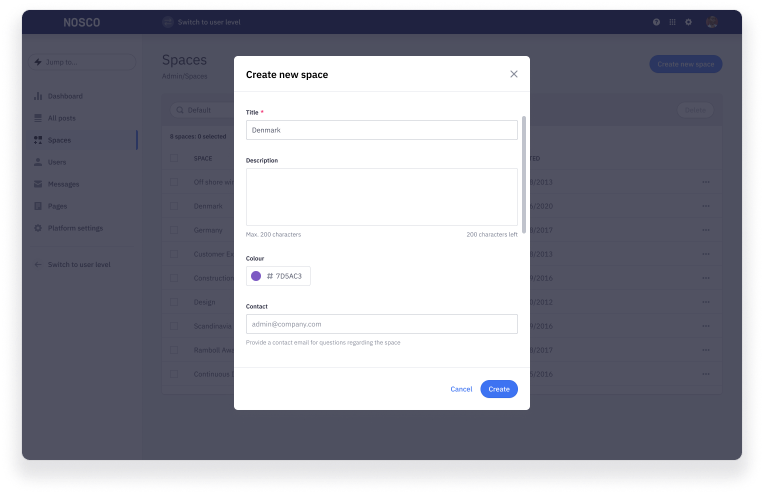
- Click on Create.
Assign channels to space
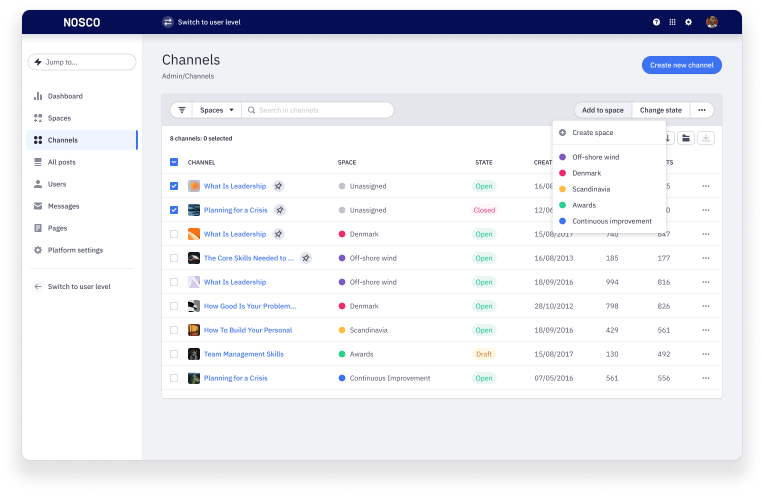
Once you have created the space you can assign channels to the space.
You can do this from **Admin >**All channels > View all.
Select the channel you want to add to a space and then click onAdd to space.
Click on the space to which you want to add your channel.
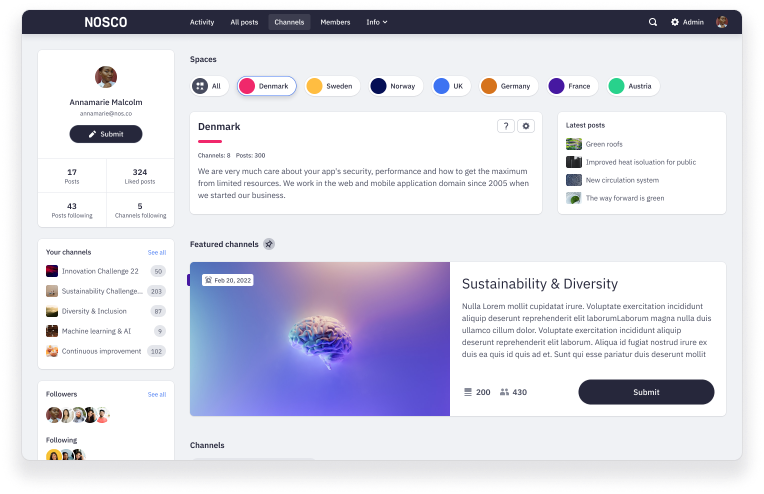
You can now see your space and channels in the user level. Members can switch between spaces to quickly find the relevant channels to submit or collaborate.
Apply changes to a space
In case you want to change anything in your space you can edit it directly from the user level.
You can do this by clicking on the Cogwheel in the space description or under Admin > Spaces.
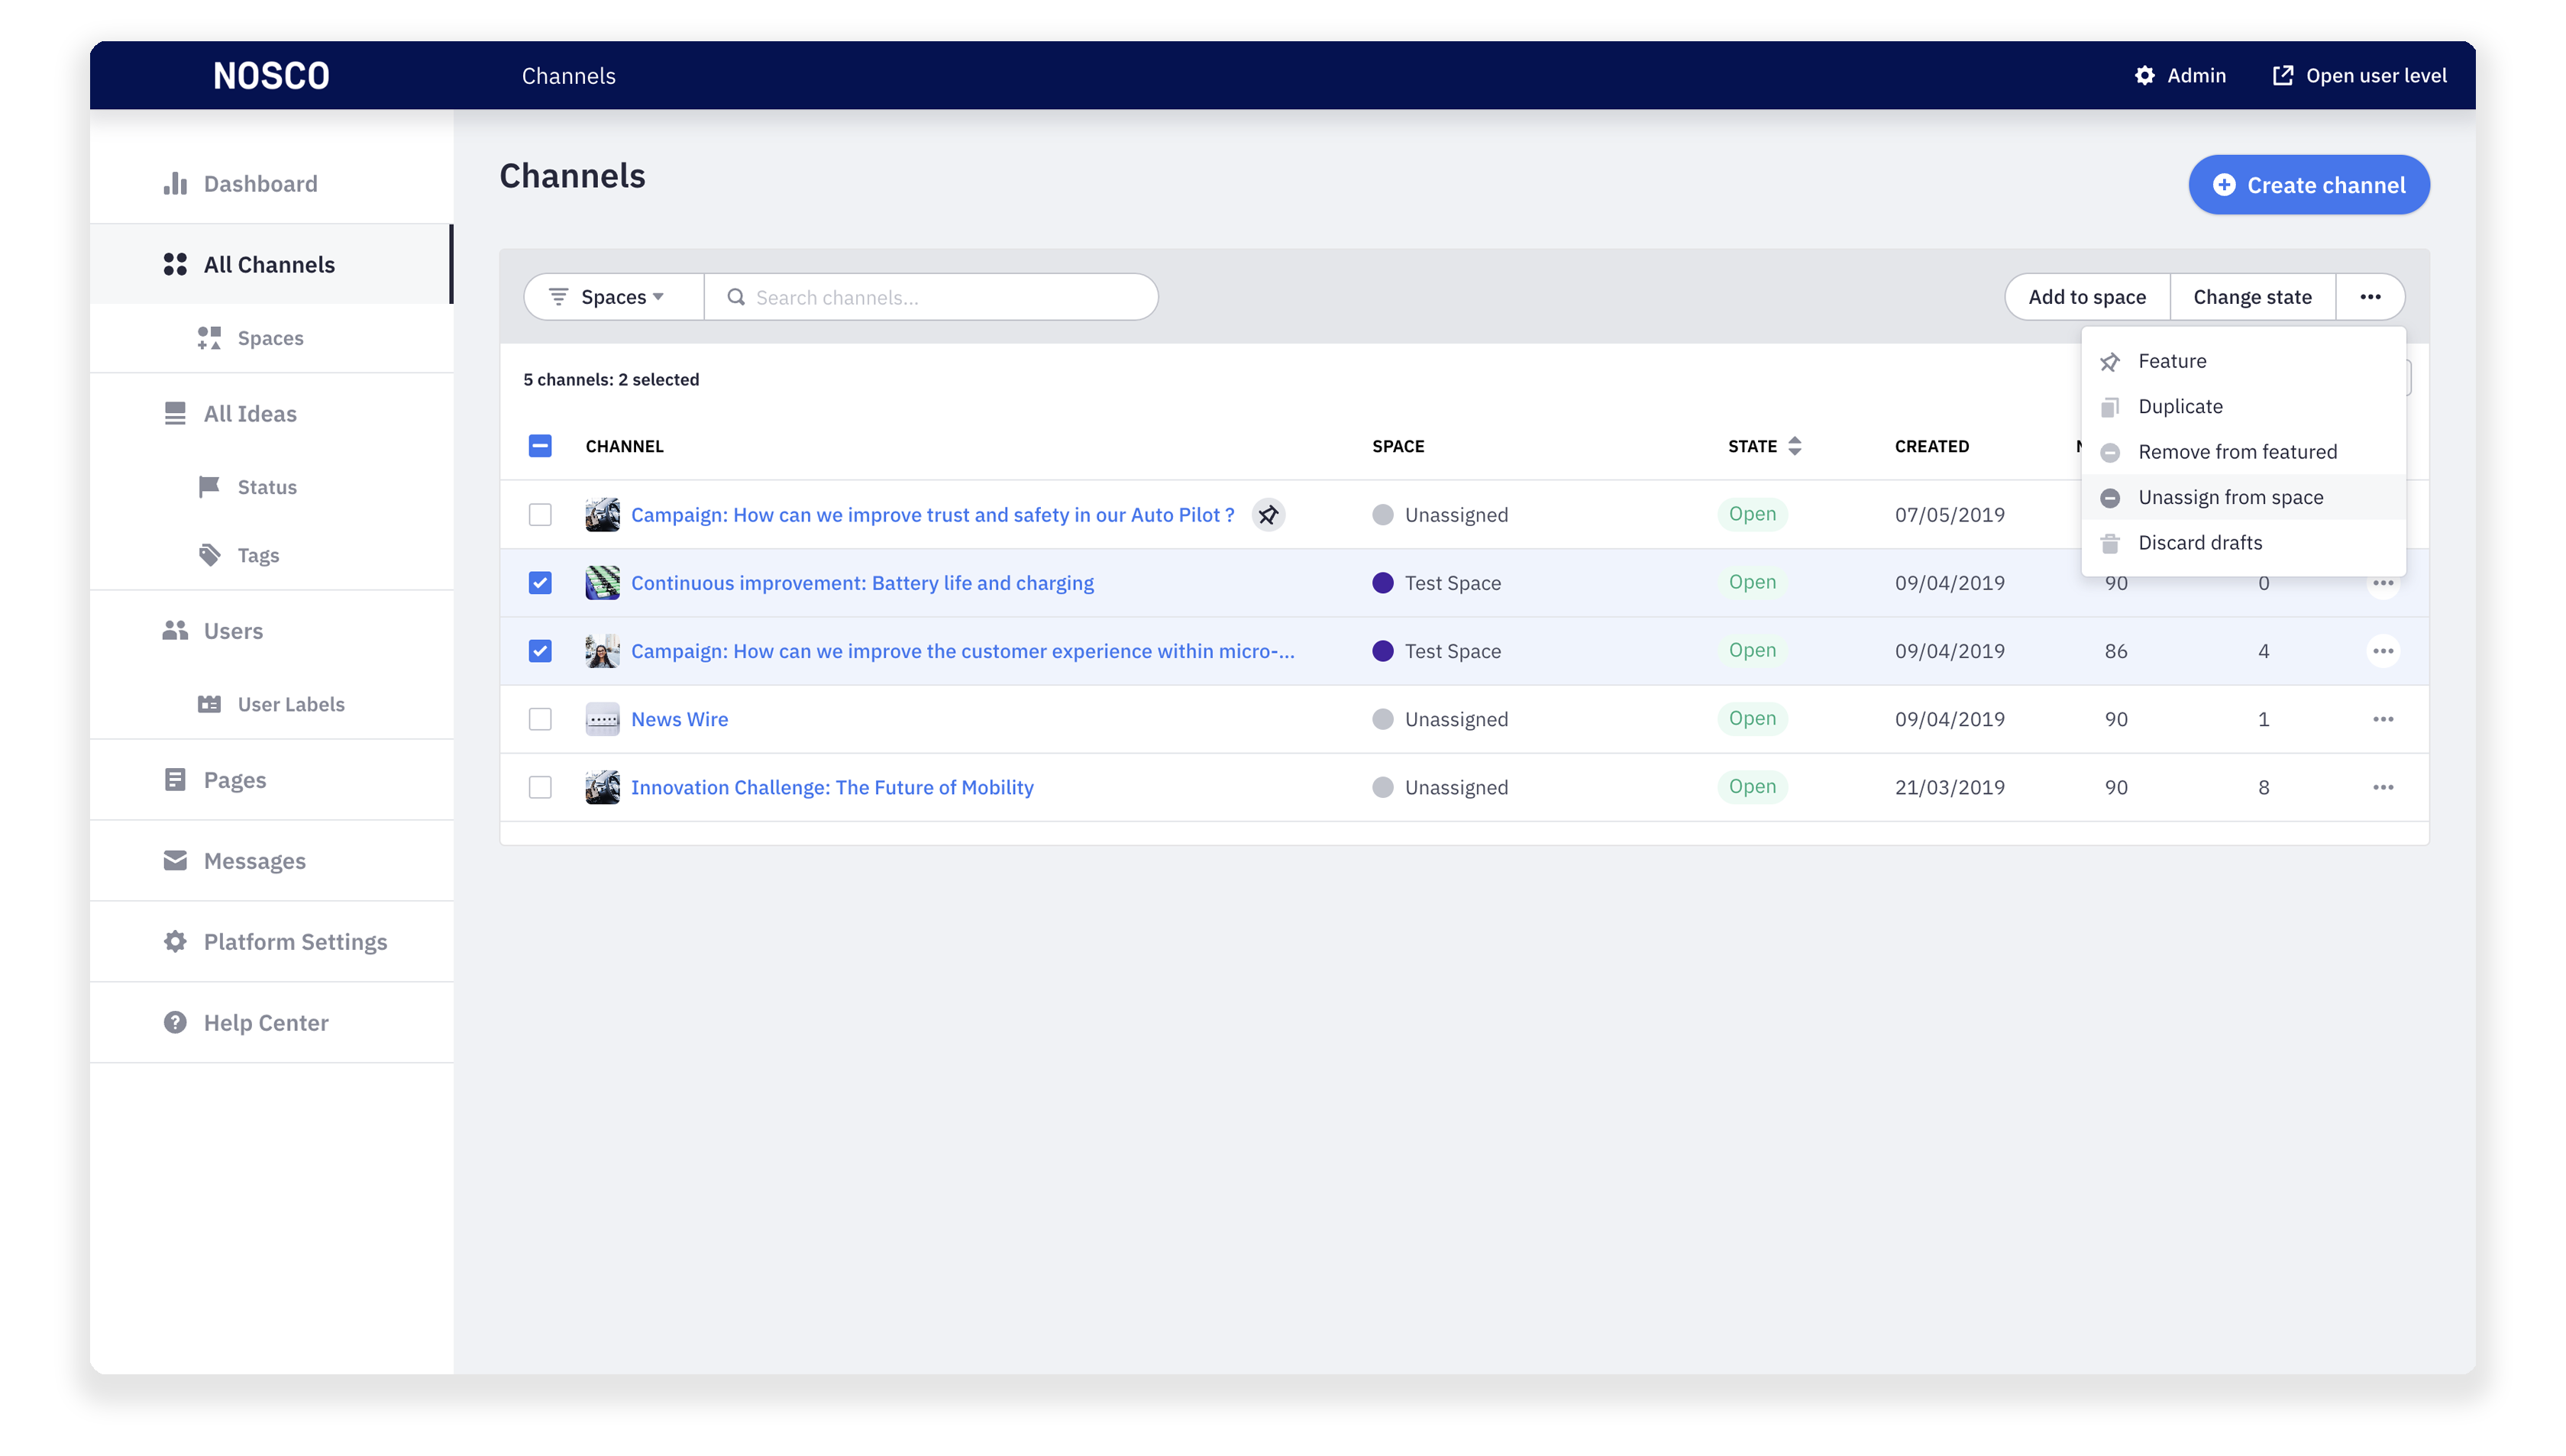
Remove channels from space
To remove channels from a space go to Admin > All channels > View all.
Select the channel you want to remove from a space.
Click on the 3 dots in the upper right corner and then on Unassign from space.